How To Lay Sandstone Paving
Telephone:
0115-647-1794
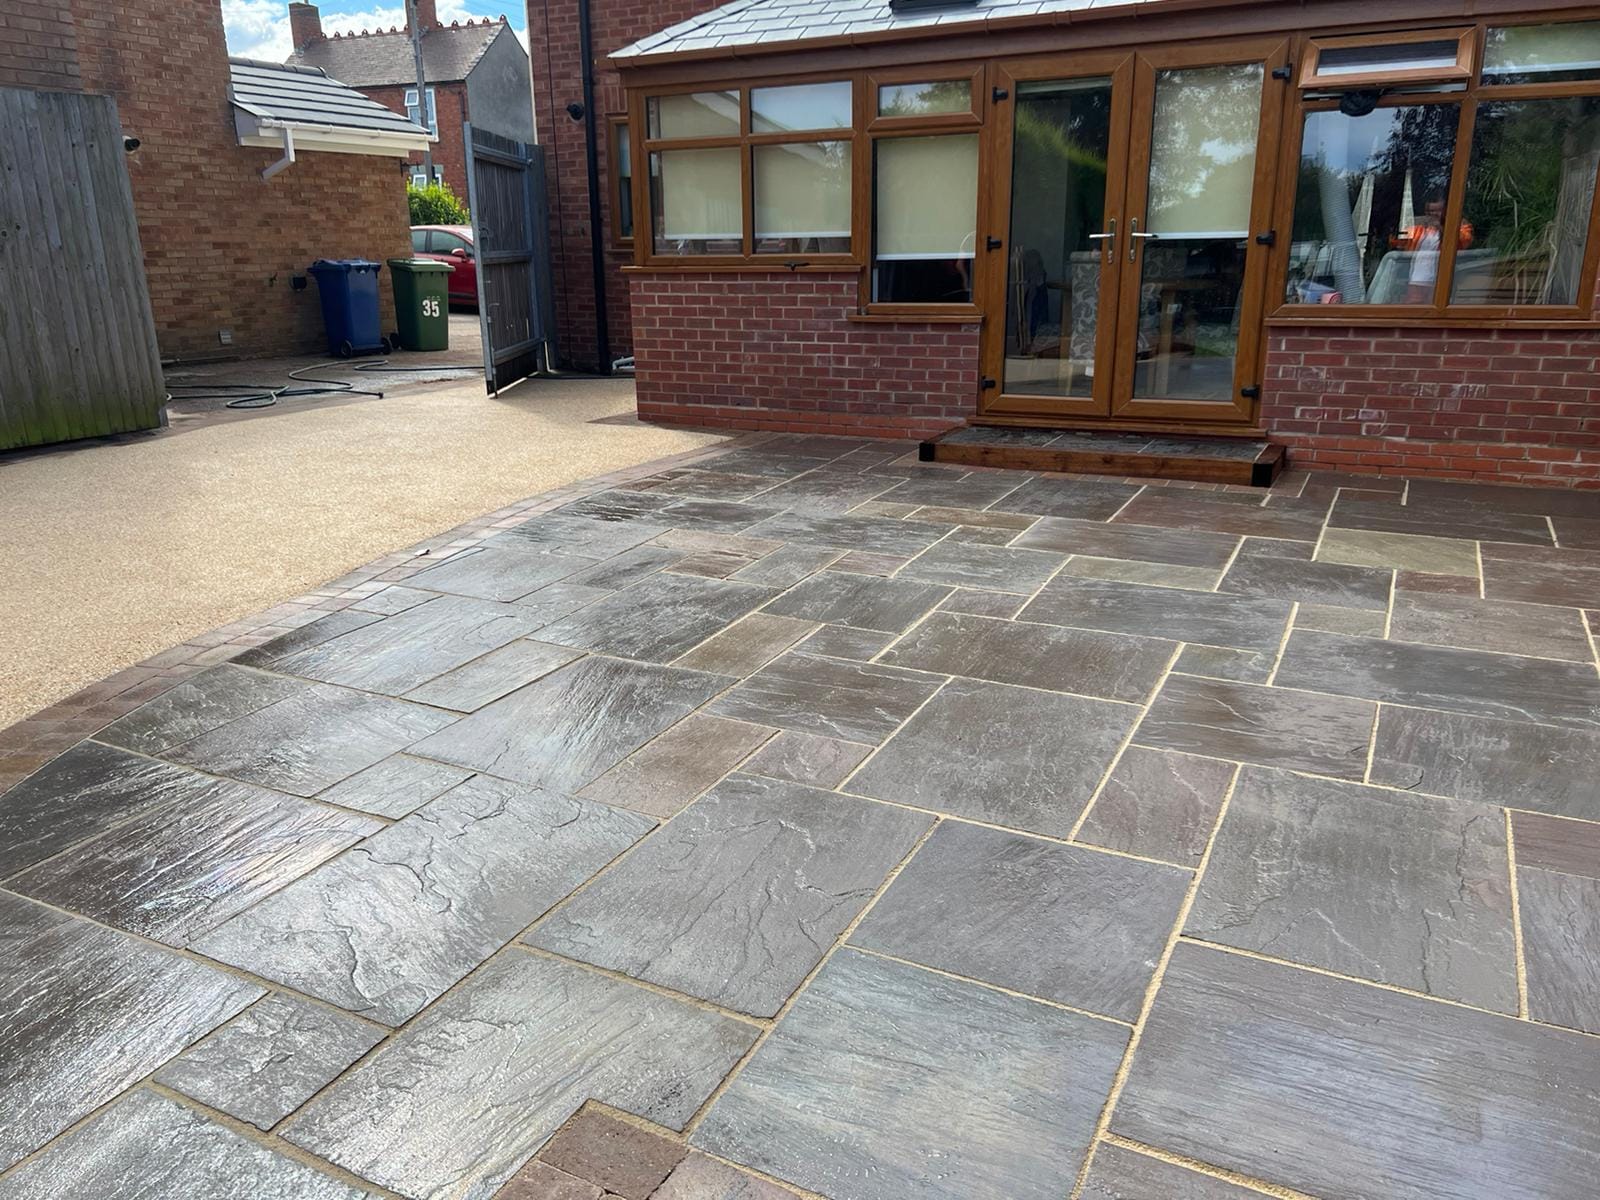
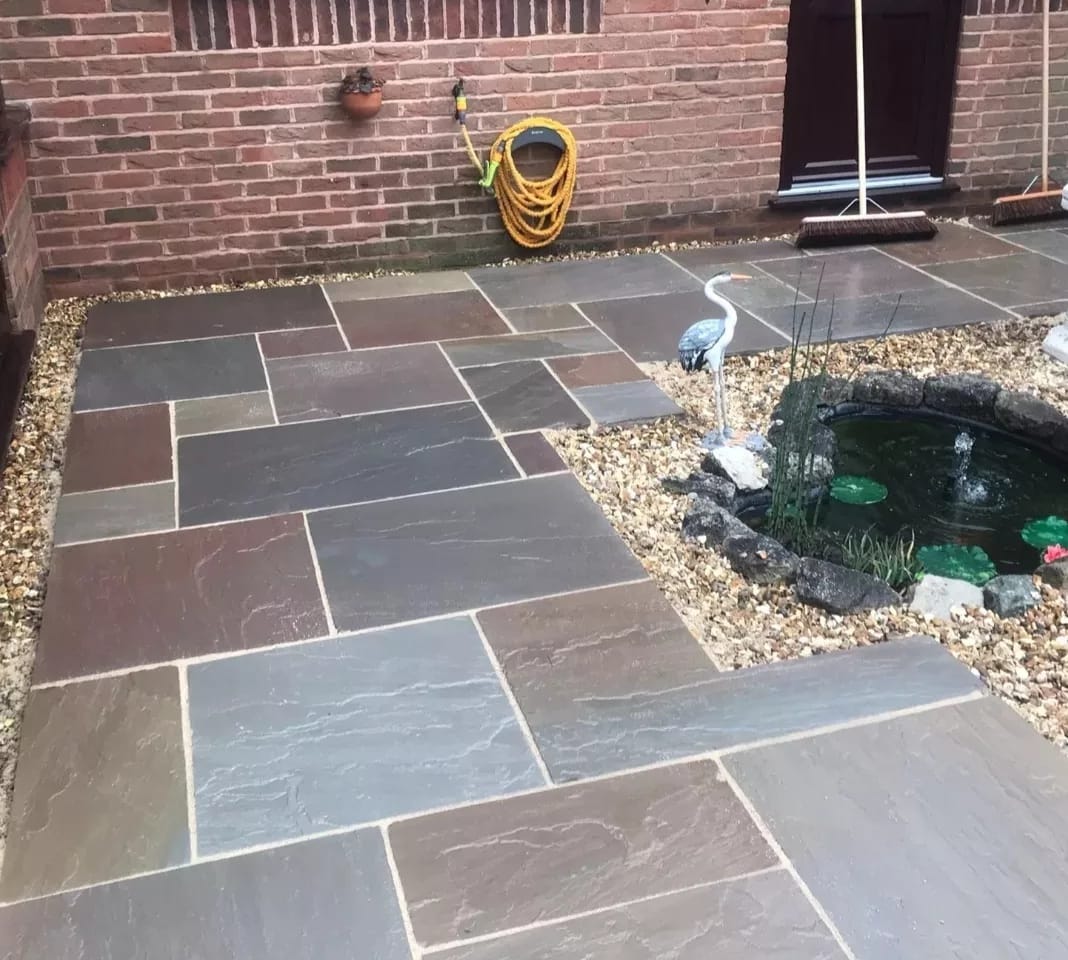
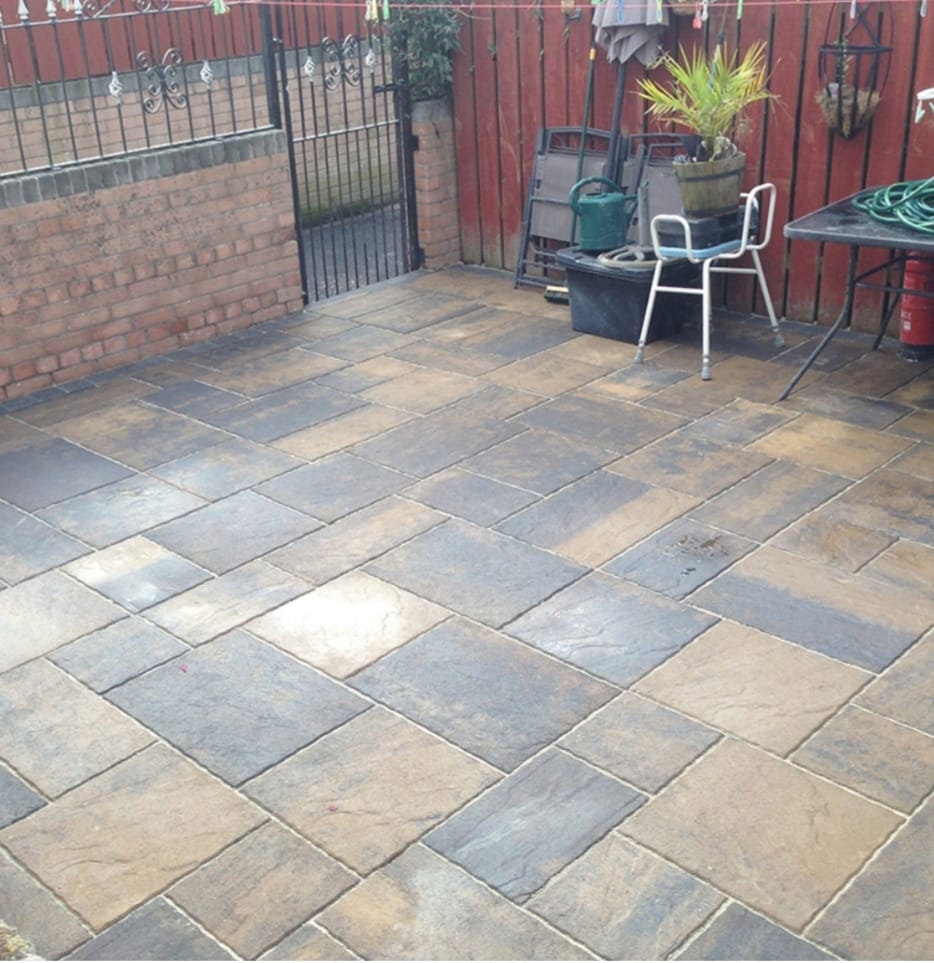
How to lay Indian sandstone paving slabs
If you're looking to add a natural and stylish finish to your outdoor space, then Indian sandstone paving slabs are a great option. Here's everything you need to know about how to lay them.
When it comes to
choosing the right Indian sandstone paving slabs for your project, there are a few things to consider. The first is the size of the slabs – they come in a variety of sizes, so you'll need to make sure you choose ones that are appropriate for the area you're working with.
The second is the thickness of the slab – this will affect how easy they are to work with and how durable they are. Thicker slabs will be more difficult to cut and shape, but they'll be more resistant to damage.
If you're looking to lay Indian sandstone paving slabs, there are a few things you need to take into account. Firstly, make sure that the area you're hoping to pave is level and even. If it isn't, you'll find it much harder to lay the slabs evenly.
Once you've checked that the area is level, start by measuring out how much sandstone you'll need. It's always better to have too much than too little, as you can always cut down or break up pieces if necessary. Once you have your sandstone, lay it out in the desired pattern before starting to fix it in place.

Contact Us

To fix the sandstone in place, you can either use mortar or adhesive. If you're using mortar, mix it according to the instructions on the packet and then spread it over the back of each slab. Once you've done this, carefully place each slab into position, making sure that they're level with each other. Use a spirit level to check as you go along.
If you're using adhesive, apply it to the back of each slab in a thin and even layer. Again, carefully place each slab into position, taking care to ensure that they're level with one another. Once all of the slabs are in place, leave them for 24 hours so that the adhesive can properly set.
After 24 hours have passed, your Indian sandstone paving should be fully laid! To finish off the job, use a jointing compound to fill in any gaps between the slabs. This will help to prevent weeds from growing up through the cracks and ruining your beautiful paving!
There you have it: a quick and easy guide to laying Indian sandstone paving slabs. With just a little bit of care and attention, you can achieve a professional-looking finish that will last for years to come. So what are you waiting for? Get started on your project today!
What is best to lay sandstone slabs on?
There are a few things to consider when deciding what is best to lay sandstone slabs on. The first is the stability of the surface. Sandstone is a natural material and is subject to weathering and erosion. This means that it is important to choose a stable surface on which to lay the slabs, such as concrete or paving stones. It is also important to make sure that the surface is level so that the slabs will not wobble or shift over time.
Another consideration is drainage. Sandstone is a porous material, which means that it can absorb water. This can cause problems if the surface on which it is laid does not have good drainage, as the water can pool on the surface and cause the slabs to crack or break.
Finally, it is important to think about the aesthetic of the finished product. Sandstone comes in a variety of colours and textures, so it is possible to create a unique and stylish patio or walkway by selecting the right slabs. With so many options available, it is important to take the time to browse through all of the possibilities before making a final decision.
When it comes to choosing the best surface on which to lay sandstone slabs, concrete is often the best option. It is durable and has a smooth surface, which will allow the slabs to lie flush against it. In addition, concrete is easy to clean and maintain, making it an ideal choice for busy families or those who entertain frequently.
What is the mix for laying Indian sandstone?
There are a few things to keep in mind when laying Indian sandstone, such as the thickness of the stone and the type of mortar mix you'll need.
Thicker stones will require a stronger mortar mix, so be sure to ask your supplier what they recommend. A general rule of thumb is to use 1 part cement to 2-3 parts sand.
If you're using a pre-mixed mortar, simply follow the manufacturer's instructions. Otherwise, mix the cement and sand together until it forms a thick paste. Add water slowly until it reaches the desired consistency - too much water will make the mixture weaker.
Once your mortar is mixed, apply it to the back of the stone with a trowel. Gently pressing the stone into place, use a level to make sure it's even.
Fill in any gaps between stones with mortar, using a small brush or your finger to smooth it into place. Allow the mortar to set for at least 24 hours before grouting.
Grouting is the process of filling in the gaps between stones. You can use a pre-mixed grout or mix your own using cement and water. Apply the grout with a rubber float, working it into the gaps.
Use a damp cloth to wipe away any excess grout from the surface of the stone. Allow the grout to set for at least 24 hours before sealing.
Sealing Indian sandstone helps to protect it from stains and weather damage. Use a sealant specifically designed for natural stone, applying it according to the manufacturer's instructions. Re-seal your stone every few years to keep it looking its best.
How thick should a sandstone paving slabs be?
There is no definitive answer to this question since the thickness of sandstone paving slabs can vary depending on the supplier and the specific application. However, most sandstone paving slabs are typically between 1-2 inches (2.5-5 cm) thick. Some suppliers may offer thicker slabs, but these are not as common. When choosing sandstone paving slabs, be sure to ask your supplier about the thickness of the slabs to ensure they will meet your needs.
Should I seal sandstone before laying?
If you are planning on using sandstone in your home's construction, you may be wondering if you need to seal it before laying it. The answer is that it depends on the specific type of sandstone and its intended use. Some types of sandstone are more porous than others, making them more susceptible to staining and damage from water and other liquids. If you are using sandstone for a floor or countertop, it is generally recommended that you seal it to protect it from spills and stains. However, sealing is not always necessary, so you will need to weigh the pros and cons before making a decision.
One advantage of sealing sandstone is that it can help to prevent staining. If you spill something on unsealed sandstone, it is more likely to absorb the stain and be difficult to clean. Sealing the stone will create a barrier that will make it easier to wipe up spills and prevent them from penetrating the stone.
Another advantage of sealing sandstone is that it can help to protect the stone from damage. Water and other liquids can cause erosion and wear down the stone over time. Sealing the stone will help to create a barrier against these elements, preventing them from causing too much damage.
However, there are some disadvantages to sealing sandstone as well. One disadvantage is that it can make the stone more slippery. If you are using sandstone for a floor, you may want to consider adding a nonslip coating to the sealant to prevent accidents. Another disadvantage is that sealing sandstone can make it more difficult to clean. The sealant can create a barrier that dirt and grime can get trapped under, making it harder to clean the stone effectively.
Read our cleaning and maintenance tips here.
Overall, there are both advantages and disadvantages to sealing sandstone. It is important to weigh these factors carefully before deciding whether or not to seal your sandstone. If you do decide to seal your sandstone, be sure to follow the instructions carefully to ensure that you do not damage the stone or create a safety hazard.
Do you lay slabs on sharp sand or building sand?
There are a few different types of sand that can be used for laying down paving stones or slabs, but the two most common are sharp sand and building sand. Each type of sand has its own advantages and disadvantages, so it's important to choose the right one for your project.
Sharp sand is often used for projects that require a very level surface, such as patios or driveways. It's also good for drainage since it doesn't hold onto water like other types of sand. However, sharp sand can be difficult to work with and can sometimes shift or settle unevenly.
Building sand is more versatile and easier to work with than sharp sand. It can be used for projects that don't need a perfectly level surface, and it holds onto moisture better, making it ideal for use in garden beds. However, building sand can be more expensive than sharp sand, and it may not provide the same level of support for heavy objects.
When choosing a type of sand for your project, consider the cost, ease of use, and desired results. Sharp sand is a good choice for projects that require a very level surface, but it can be difficult to work with. Building sand is more versatile and easier to use, but it may be more expensive. Choose the right type of sand for your project to ensure the best results.
How do you cut sandstone slabs?
Cutting sandstone slabs is best done with a saw designed specifically for cutting stone. You'll need to use a wet saw, which uses water to cool the blade and prevent it from overheating. Make sure to wear eye protection and gloves when using a wet saw.
Mark the outline of your cut on the sandstone slab with a pencil or marker. Slowly and carefully guide the blade of the wet saw along the line you've drawn. Keep the blade wet at all times by spraying it with water as you work.
When you're finished cutting, use a hammer and chisel to break off any rough edges. Sand the edges smoothly with fine-grit sandpaper. Now your sandstone slab is ready to use!
Do I need to leave a gap between paving slabs?
As a general rule of thumb, it is best to leave a small gap (around 5mm) between your sandstone paving slabs. This allows for movement and expansion, as well as helps to prevent any water or moisture from becoming trapped and causing the slabs to become damaged or warped over time.
If you live in an area with particularly cold winters, it is worth increasing the size of the gap to around 10mm to allow for any movement that may occur due to freezing temperatures.
When laying your slabs, simply use a piece of scrap wood or a mallet to tap them gently into place, leaving the desired gap between each one. Once all of your slabs are in position, you can then fill the gaps with a jointing compound, which will help to keep everything in place and stop any weeds from growing up through the cracks. We also recommend using grout that is compatible with sandstone. This will help to prevent the grout from staining the sandstone
So there you have it, everything you need to know about spacing out your sandstone paving slabs. By following these simple tips, you can be sure that your patio will look great and last for many years to come.
If you don’t want the hassle of laying and installing your own Indian sandstone patio, paths or driveway in Nottingham, then you can always call us at Professional Gardeners of Nottingham. All our quotations are free and you are under no-obligation to place an order. To book your free consultation call now!
